Getting started with Idealpos and Xero is easy.
To configure your system, scroll down to Configuring the Xero Integration in Idealpos.
If your system is already configured with Xero, check out the Brief introduction for exporting data to Xero listed below.
When Idealpos is connected to Xero and your Xero Chart of Accounts have been linked to Idealpos Account Codes, financial data in Idealpos can be exported to Xero. Exporting financial data from Idealpos to Xero is all performed manually via the Accounting menu in the Idealpos Back-Office.
The process to export data varies depending on the data you want to export, and a brief process for exporting each type of data is outlined below:
Export Sales
To Export Sales, you will need to:
For a more in-depth set of steps that outline the complete process to export sales from Idealpos to Xero, click here.
Export Invoices
To Export Invoices, you will need to go to the Idealpos Back-Office, then from the Accounting Menu, select "Supplier Invoices".
From within the Supplier Invoices window, you will have the opportunity to view a list of Supplier Invoices and click in the Send column next to the Invoices you want to send, then press the "Send to Accounting" button to send to Xero.
For a more in-depth set of steps that outline the complete process for exporting Invoices from Idealpos to Xero, click here.
Complete the steps outlined as they appear in the below order to connect Idealpos to Xero.
Please note that the steps included in the configuration process include linking your Xero Chart of Accounts to Idealpos Account Codes.
We recommend that you seek professional advice from your Accountant or Bookkeeper before configuring and using Xero with Idealpos.
Linking the wrong Accounts in Idealpos can result in data being transferred incorrectly.
In order to enable the Xero Integration in Idealpos, you will need to ensure that the Xero module has been enabled in your Licence Gateway.
To check the Xero module in your Licence Gateway, go to: Setup > Licence Gateway
Under the Options column for the current terminal (the current terminal is highlighted in green), look for "Xero".
If the Xero module has not been enabled in your Licence Gateway, you will need to contact Idealpos or your Reseller.
When the Xero module is enabled in your Licence Gateway, you will see an "Accounting" menu option displayed at the top of the Idealpos Back-Office window as shown in the below example:
From Idealpos 7.1 Build 14 and onwards, you will need to install the Framework Patch to deliver the Chromium Embedded Framework which will enable you to connect Idealpos to Xero.
This step was previously not required, however, the component that was being leveraged by Idealpos to establish a connection with Xero is no longer being supported after December 2020.
Therefore, the Framework Patch is now required.
Note that if the Framework Patch has not been installed and you attempt to connect Idealpos to Xero, you will see "Could not Authorize Organization" as shown below:
To rectify this, you will need to install the Framework Patch.
Once the Framework Patch has been installed, you will need to run the build installer for Idealpos 7.1 Build 14 or above.
Ensure that all terminals on your network are running the same build of Idealpos.
Also note that once the Framework Patch has been installed, you won't need to run the patch when installing new builds of Idealpos in the future.
Note that the below process involves entering your Xero Username and Password Credentials into a window.
Before completing this process, ensure that Two Form Factor Authentication has been enabled for the Xero User account that you will be entering in the below steps.
If Two Form Factor Authentication has not been enabled, issues may arise that will prevent the successful connection between Idealpos and Xero.
If Two Form Factor Authentication has been enabled and issues are encountered during the below process, we recommend that you restart your system and try again.
Please refer to Xero for more information about setting up Two Form Factor Authentication.
Once you've confirmed your system has been licensed for Xero, you may connect to Xero and link your Xero Chart of Account Codes to Idealpos Account Codes.
This step involves linking the Idealpos Account Codes to Chart of Account Codes.
Linking these codes incorrectly will result in data being transferred incorrectly.
Therefore, we strongly recommend that you seek professional advice from your Accountant or Bookkeeper before using this module.
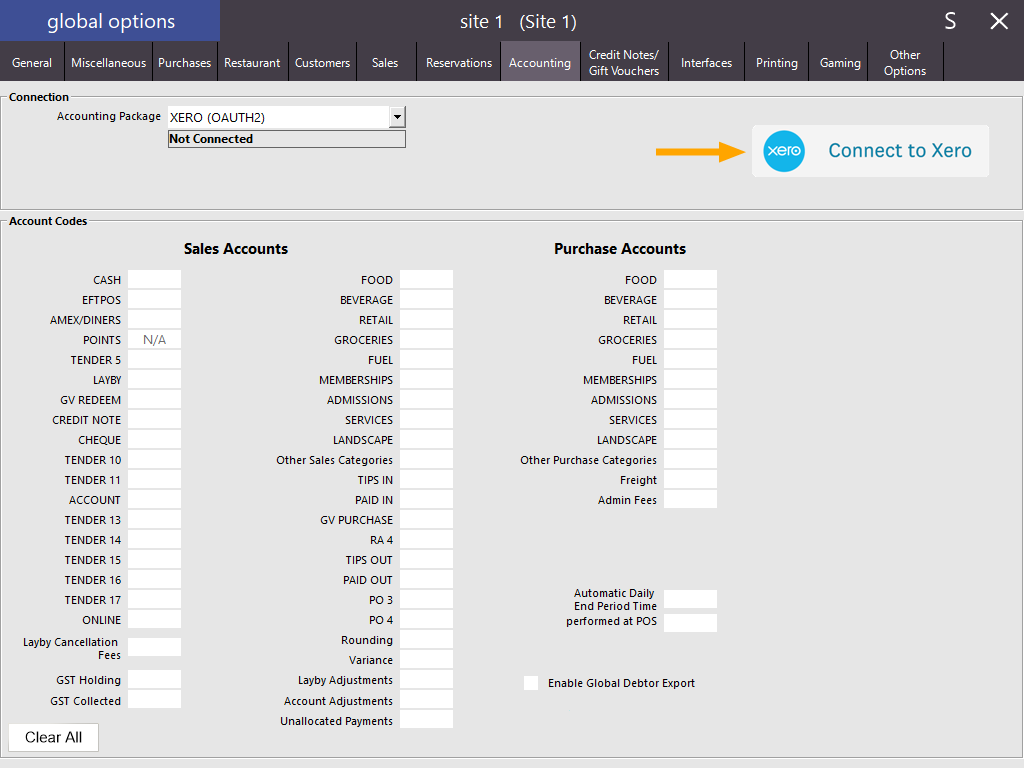
From the Idealpos Back-Office, go to: Setup > Global Options > Accounting.
From the Accounting Package dropdown box located towards the top-left corner of the Global Options window, select "XERO (OAUTH2)".
A new button called "Connect to Xero" will appear on the right-hand side of the window.
Press this button to establish a connection with Xero.
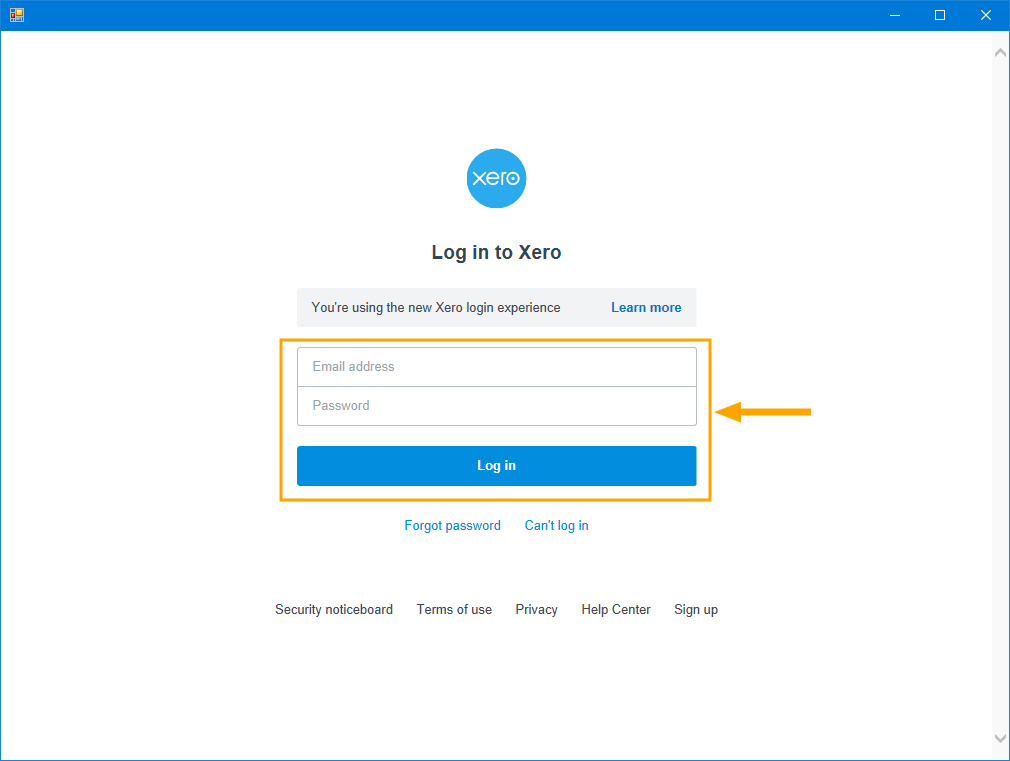
After pressing the "Connect to Xero" button, a popup window will appear prompting to enter the Email Address and Password to login to Xero.
Enter your details, then press "Log in".
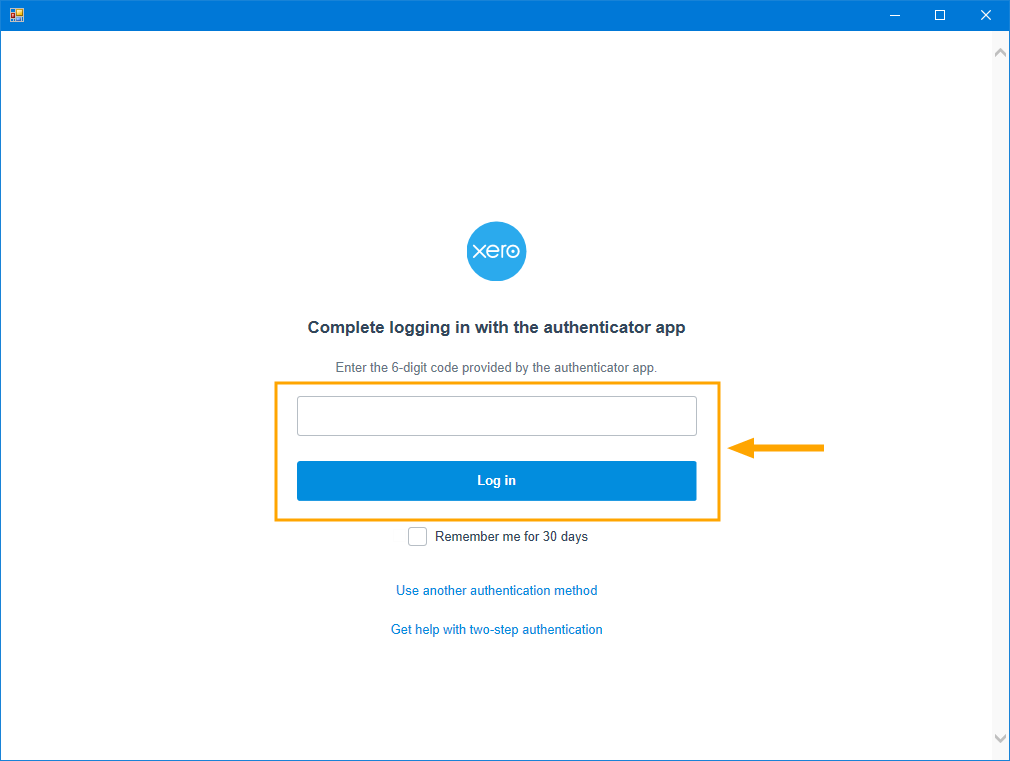
As Xero requires two form factor/two step authentication, enter the 6 digit code provided by the authenticator app, then press "Log in".
Alternatively, you can press "Use another authentication method" if preferred.
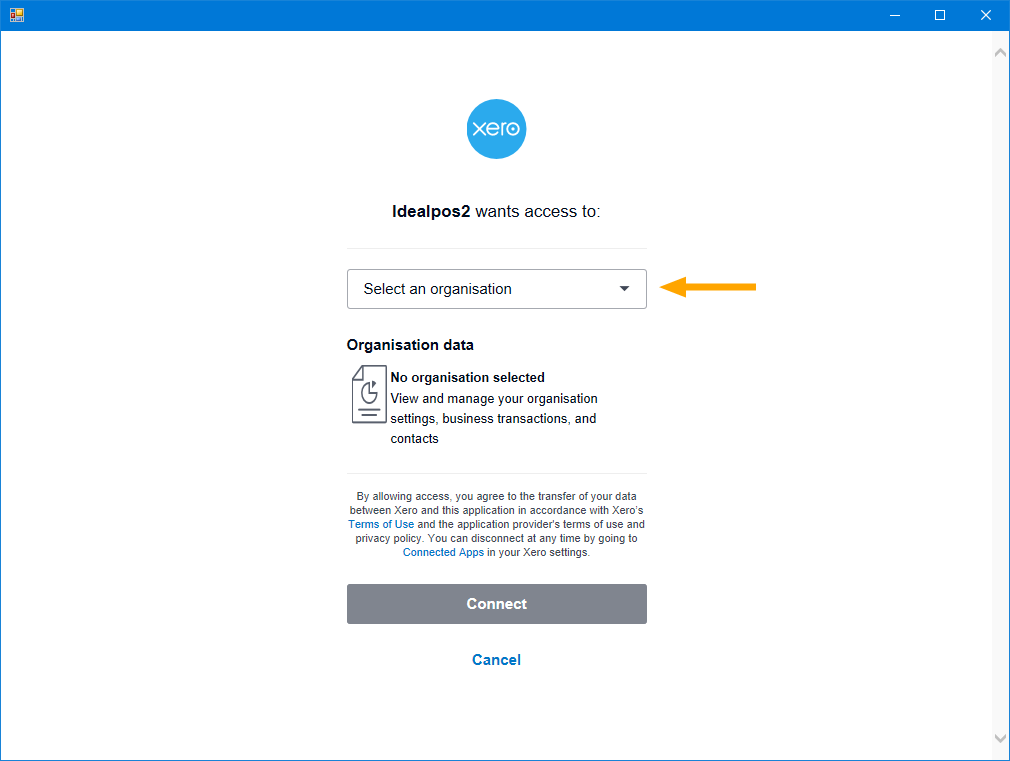
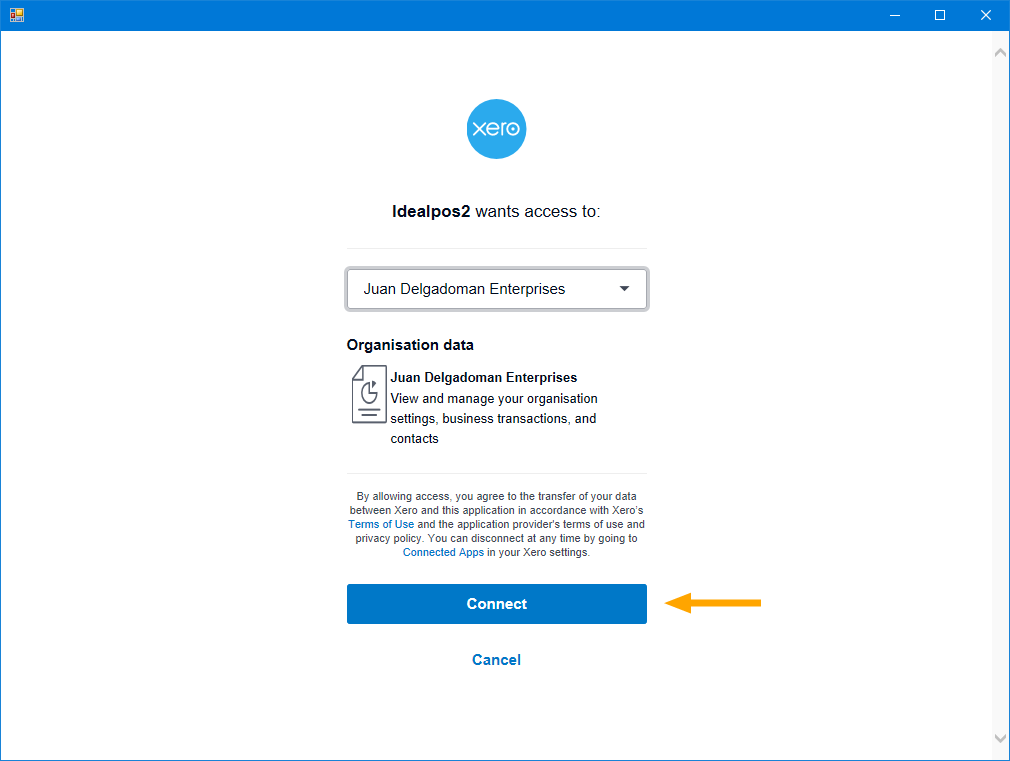
The next step for connecting Idealpos to Xero will show a prompt to Select an Organisation.
Click in the dropdown box and select your organisation, then press the "Connect" button.
The above window will close after pressing "Connect", then the Global Options window will appear.
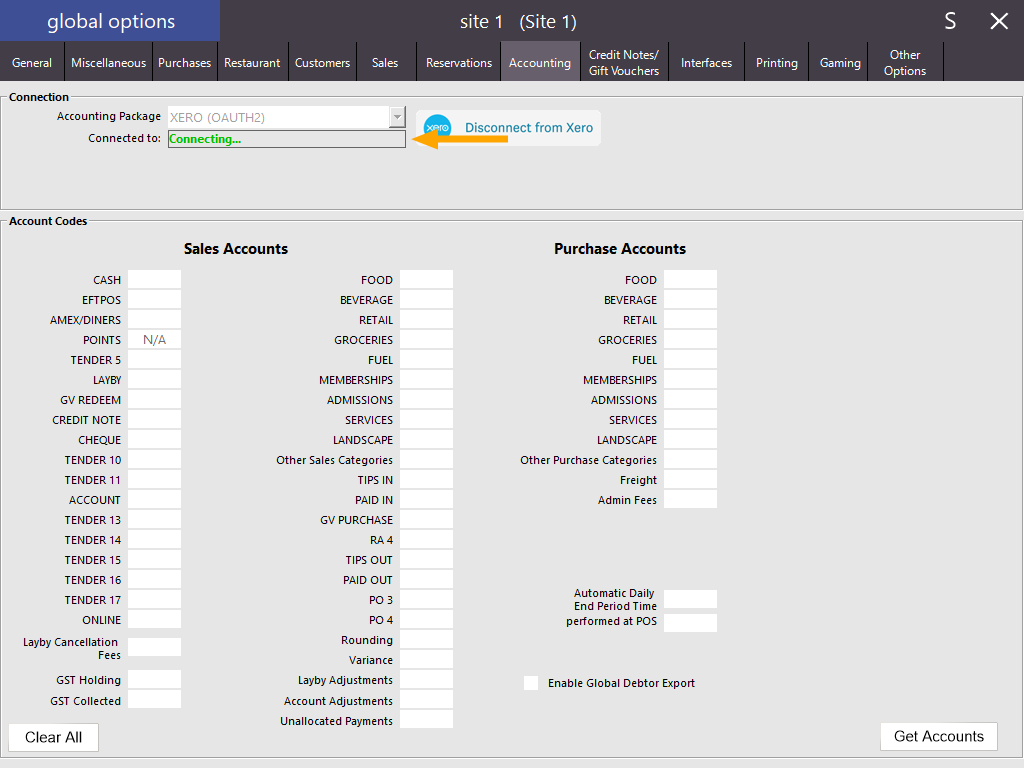
Initially, the "Connected to" field will show "Connecting...".
Please wait while the connection is established and your Chart of Accounts are retrieved from Xero.
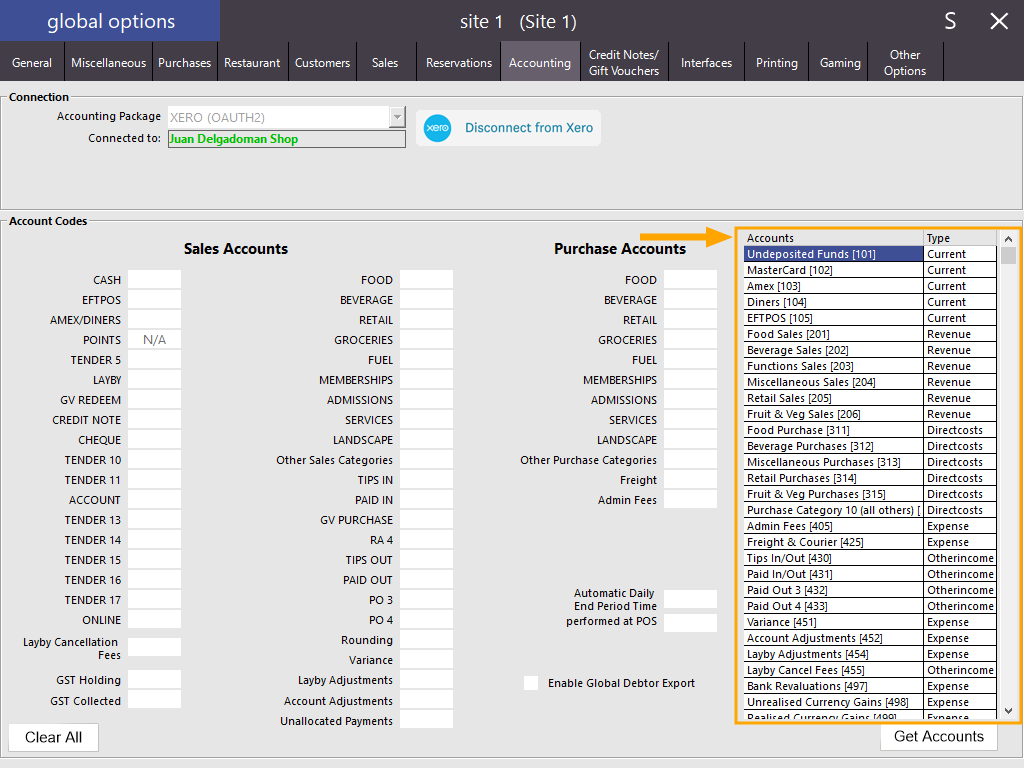
Once connected, the Organisation Name will appear in the "Connected to" field.
A list of your Chart of Accounts which were retrieved from Xero will appear on the right-hand side.
If required, you can press the "Get Accounts" button to retrieve the latest Chart of Accounts from Xero.
If you need to import Chart of Accounts into Xero, please refer to the Import Chart of Accounts from CSV File topic for further details on how to do this.
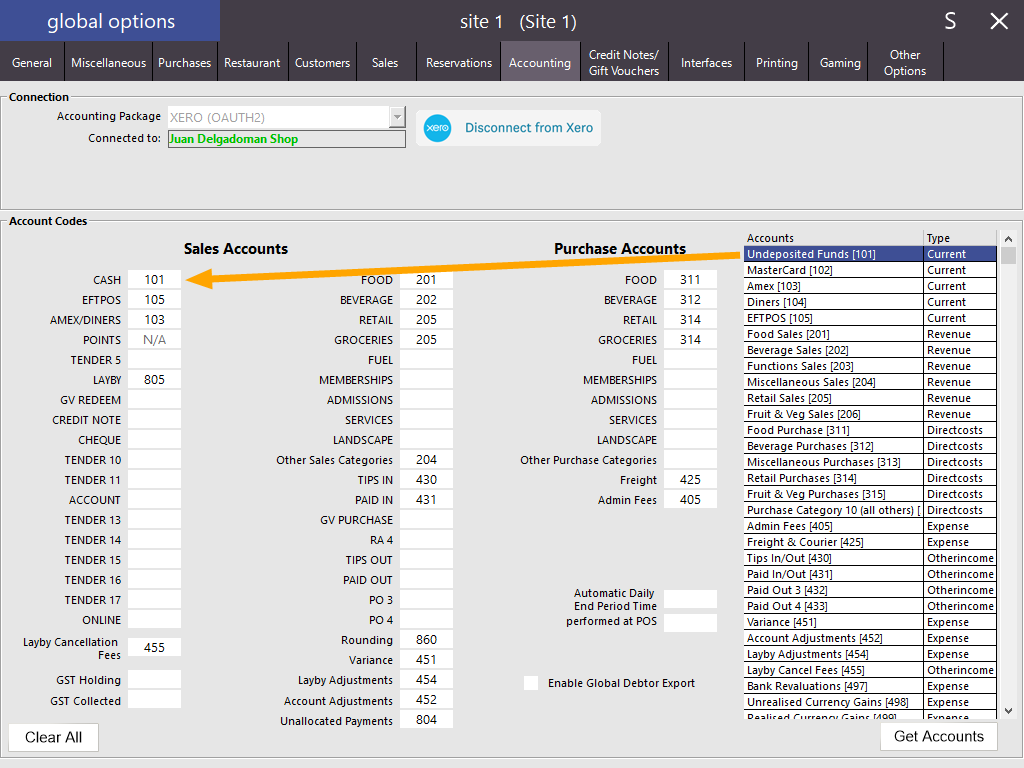
Drag and drop the Chart of Account Codes from the right-hand side column into the Idealpos Account Codes on the left-hand side.
If you intend on transferring Account and Layby transactions from Idealpos to Xero, enable the option "Enable Global Debtor Export" located towards the bottom-centre of the window.
If the Global Debtor Export option is enabled, Idealpos will automatically create a new Customer in Xero called "POS Debtor" when an export from Idealpos to Xero is performed. Note that this customer name is hard-coded as "POS Debtor" and cannot be changed.
Once the Accounts have been linked, press the "X" on the top-right corner of the Global Options window to close and save the changes.
Settings that affect integration behaviour include: